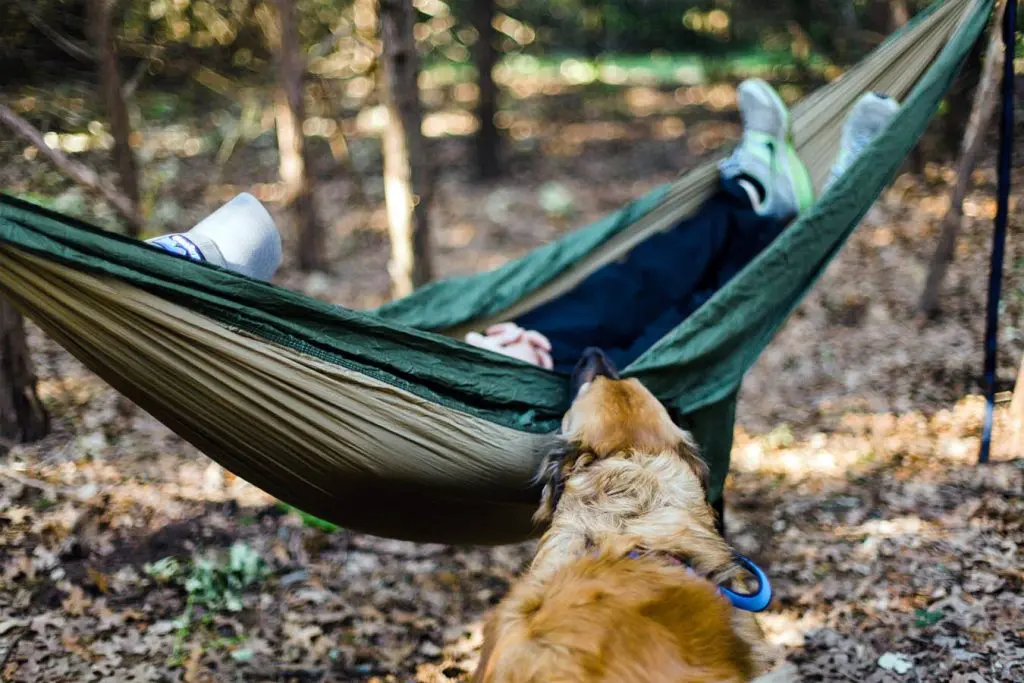
Introduction
Planning your camping trip can be overwhelming at the best of times, especially when you have some outdoor adventuring planned. Even when you’re on an adventure-packed camping trip, you need to stay safe.
You don’t want to get bored but you also don’t want to get hurt or lost in your quest for adventure. Here we have 50 tips that will help you have a successful, fun camping trip where adventure doesn’t come at the expense of comfort or safety.
We have picked tips and tricks that will keep you safe and healthy, so your adventure-packed camping trip can go smoothly. They should also apply to everybody, whether you’re alone, with a companion, or you have an entire family. Some of our tips focus on kids and keeping them happy at the campsite.
Table of Contents
50 Camping Tips
Let’s waste no time and get into our 50 best camping tips. Not all of them will apply to you and the journey you have planned.
For example, some of them focus on camping at a dedicated campground while others may target outdoorsmen and hikers, who often find themselves in the middle of nowhere.
Fortunately, with 50 tips at your disposal, there should be more than enough information to help with your camping trip.
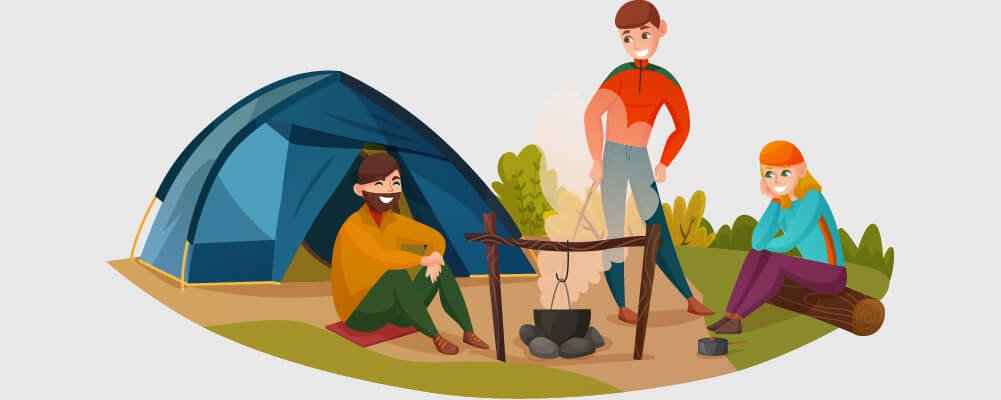
We should start with the basics, like how you can fuel your fire and cook food at your campsite.
1. Take Extra Fuel For Cooking
First, you need to make sure you can eat at your campsite. If you can’t, your camping trip isn’t going to last long. If you don’t eat, you’ll run out of energy, get stressed, and give up on your camping adventures before they even start. You should get your fill every day to keep your energy levels up and your spirits high.
To cook properly, you’ll need fuel. Take extra fuel to avoid running out while at your camp. If you’re at a campground, you may be able to get extra propellant nearby but it’s a good idea to have your own at the ready. If you’re out in the wilderness, you won’t have a store nearby where you can buy some, so taking extra is essential.
The fuel you need depends on what you’re using to cook. Most people opt for a camping stove that uses butane gas canisters, though there are electric stoves available too. For a campfire, you should bring something that you can use to light the fire and feed it, so it stays lit.
2. Don’t Forget Cooking Utensils
Next, you’ll need utensils to eat with. You don’t need to use fancy silverware on a camping trip, you should use plastic instead. Plastic is cheap, sturdy, and easily disposable.
Many take paper plates too, which should be disposed of properly and never left at the camping site.
With the cutlery settled, you should also get pots and pans that are useful out on the trail. One small pot and a small frying pan will go a very long way at most campsites. That’s all you need for most recipes since camping food is often dried or pre-prepared.
3. Take Food Bags & Plastic Storage Containers
To store food, you should bring food bags and plastic storage containers that will keep the elements away.
Whether it’s prepared or unprepared, it’s a good idea to keep your food from being exposed to the air during storage. When that happens, the food will spoil faster, especially if it’s exposed to extreme temperatures.
Likewise, storing your food properly will also keep insects and other critters from tracking your food down and pilfering it.
4. Invest In A Decent Cool Box
One of the best ways to store food and other temperature-sensitive items is a cool box. These are secure boxes with a stabilized interior temperature that keeps the things inside colder than exterior temperatures.
By using a cool box, you can bring ice and ice-related products on a hot summer day and keep your beverages chilled. There are ways to make cool boxes even better, too.
5. Freeze Food Before Placing It In A Cool Box
If you are taking a cool box for storing food, it’s a good idea to freeze the food beforehand. This means the food will be sustained at a lower temperature, so it stays frozen instead of just being refrigerated. The average cool box won’t freeze things itself, it’s much easier to place frozen items in there, where they’ll stay frozen for longer.
6. Take Something To Light Fires With
Even if you don’t plan on cooking with it, every camp needs to have a campfire. You can try your hand at foraging for wood but it’s best to bring kindling to save the day. Bring a lighter too, so you don’t have any trouble getting fires started.
When lighting fires with natural resources, you’ll have to contend with dampness and unpredictability in the kindling that’s available to you.
7. Plan Meals Ahead Of Time
You’re very restricted in what you can take to the campsite, so it’s best to plan your meals ahead of time. Without a kitchen to use, you should prepare your food before leaving for the campsite. This means you should take the exact ingredients and dishes that you need.
If you are camping for a few days, write down a plan for your meals. Make sure you bring everything you need to make your chosen dishes. That way, you won’t run into any last-minute issues that may leave you hungry or disappointed.
8. Prep Food At Home Before Leaving
You should prepare food at home if you can. Doing this will save you a lot of time at your campsite, so you can spend that time doing other things like finding adventure.
As covered in tip #2, many camping-friendly foods are dried or pre-prepared. They store well for longer journeys and take longer to spoil.
If you are camping for a few days, write down a plan for your meals. Make sure you bring everything you need to make your chosen dishes. That way, you won’t run into any last-minute issues that may leave you hungry or disappointed.
9. Take Snacks
You can’t bring a three-course meal to a campsite. Instead, you should think carefully about the food you bring and what it will do for your body. Many ideal camping foods are small portions that are packed with useful nutrients.
Here are some of the typical camping snacks:
- Assortments of seeds, nuts, and other dry ingredients that are often found in trail mixes.
- Cereal, particularly healthy grains and fortified products.
- Crackers, with something to spread on them.
- Chips, which can include dry fruit chips like apples or bananas.
- Chocolate, preferably in the form of protein bars and other energizing products.
- Dried fruit in snack bags.
- Granola and granola bars.
- Popcorn, which can be popped over a fire.
- Pretzels, in salty or sweet flavors.
Noodles, many of which can be eaten dry or boiled for a fast meal.
10. Use Spray Oil For Cooking
If you’re cooking, you’ll want to use some oil. Oil helps most foods cook properly. If you like bacon, you’ll definitely want to bring some oil with you.
Carrying jugs of oil to your campsite isn’t ideal, however, so you should get spray oil. Spray oil is easier to store and apply to your pots and pans before cooking. They’re also healthier than bottled oil, a lot of the time.
11. Consider Taking A Water Carrier
If you’re cooking, you’ll want to use some oil. Oil helps most foods cook properly. If you like bacon, you’ll definitely want to bring some oil with you.
Carrying jugs of oil to your campsite isn’t ideal, however, so you should get spray oil. Spray oil is easier to store and apply to your pots and pans before cooking. They’re also healthier than bottled oil, a lot of the time.
12. Prepare A Box For Kitchen Essentials
When it comes to your kitchen equipment, you may want to keep them all together. This stops items from getting lost, which is handy if you’re juggling many pieces of equipment.
Take a dry box or something that will protect the contents inside, then consider filling it with some of the following:
- Camp Stove
- Pots/Pans
- Cutlery
- Plates
- Bowls
- Mugs
- Kettle
13. Collect Miniature Condiment Sachets
If you are a fan of condiments, you can bring some without taking up much space. Instead of taking bottles of tomato ketchup or mustard with you, take those tiny sachets you often find at diners and other restaurants. They store well, are portioned well, and can be less messy than a half-empty bottle that doesn’t give up its sauce.
14. Invest In A Good Sleeping Bag
Sleep is very important, especially when you’re out on the trail. If you’re tired, you won’t enjoy your camping trip and you certainly won’t have fun.
You don’t just need to get sleep, you need to sleep well. This means you should get a high-quality sleeping bag. Fortunately, there are many good sleeping bags made with high-quality materials from reputable manufacturers.
15. Consider Taking Extra Blankets
When you’re out in the wilderness, blankets can get wrecked pretty fast. Between the dirty ground, sharp twigs, and insects that want to find somewhere warm to rest, your blankets will get messed up on the trail.
That’s why packing extra blankets is always a good idea. If you’re camping in a cold climate, you’ll need them to stay warm and keep yourself safe. Blankets can also be used to bundle equipment together too, to store other pieces of equipment in.
16. Take A Hot Water Bottle
You can also take a hot water bottle to stay warm. At night, your campsite can get very cold. Even when you camp in a warm location, it can get very cold.
Not many places are warm in the dead of night, so taking a hot water bottle can remedy that by keeping you sufficiently heated while in bed.
17. Don’t Sleep On The Floor
Never sleep on the floor while camping. You’ll get colder faster when you’re lying on the floor. That’s because the ground is uninsulated, whereas having a surface between you and the ground will keep you warmer.
There are many sleeping mats and self-inflating mats that are available from camping retailers. They’ll make you much more comfortable and give you a much better night of sleep.
18. Take Lantern Instead Of A Torch
Many people think to bring a handheld torch with them while camping. That isn’t a bad idea… as long as you pack batteries.
You may want to consider a lantern if you want a surrounding light. Flashlights are directional, so they will only illuminate a small cone of light ahead of you. Getting a powerful lantern will keep your entire campsite lit up, which is better than a flashlight for general lighting.
19. Pack Torches For Nighttime Bathroom Visits
Flashlights are better for those who anticipate late-night visits to the bathroom. If that’s you or somebody in your group, keep a handheld torch around. It’ll illuminate your path, scare away critters, and let you see what you’re doing.
20. Place An Extra Blanket Under Your Bed
Flashlights are better for those who anticipate late-night visits to the bathroom. If that’s you or somebody in your group, keep a handheld torch around. It’ll illuminate your path, scare away critters, and let you see what you’re doing.
21. Use Battery Or Solar Powered Fairy Lights For Gentle Diffused Tent Lighting
While you may pack a high-powered lantern and/or flashlight for keeping things light, they are often harsh on your eyes. When you’re trying to sleep, a low-energy night light may be what you need. If you need that to fall asleep, or maybe you have kids who need it, then fairy lights may help.
Fairy lights, more commonly known as mini lights or twinkle lights, are the kinds you see wrapped around a Christmas tree. They are strings of electric wire lined with small, soft LEDs that can often be set to pulse or shimmer for an added relaxing effect. See more – Portable Solar Generator
22. Check For Your Mallet, Pegs, & Poles Before You Leave
This one is simple; you need to make sure you have the requirements to actually pitch your tent. These will typically be a set of poles, pegs, and a mallet to drive those pegs into the ground.
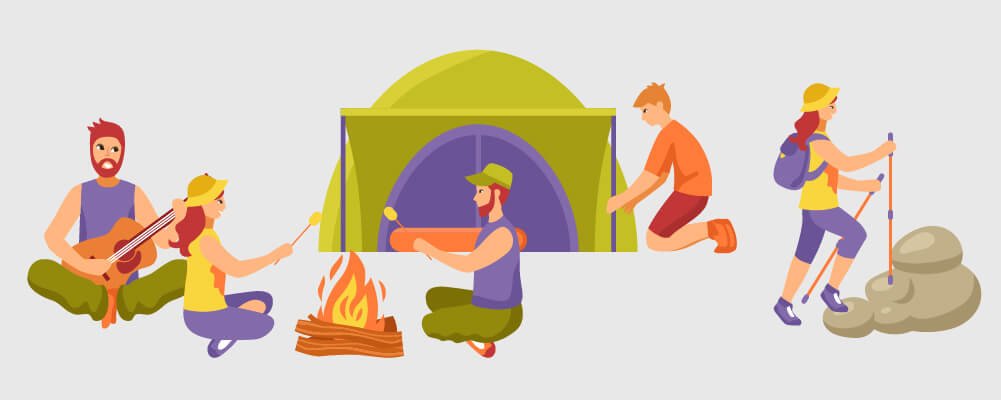
23. Give The Kids Jobs
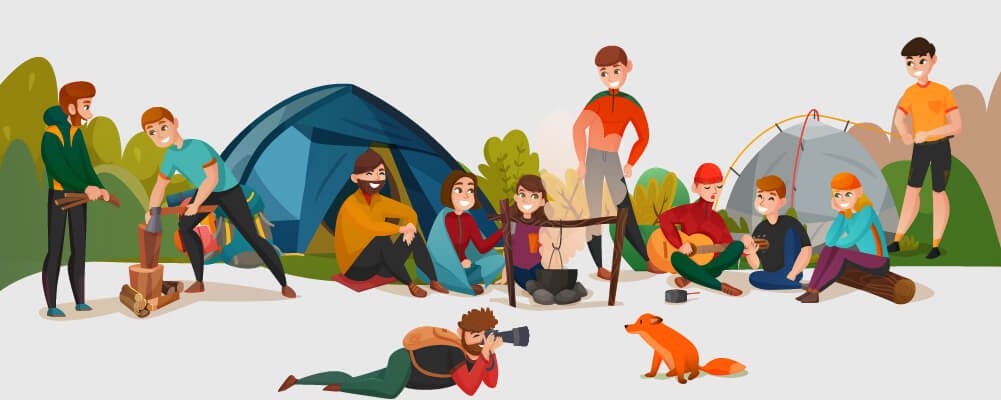
Here’s our first tip for those of you with a family to take care of. Kids may get bored during a camping trip, especially if they aren’t involved in the preparation. Your kids don’t want to stand on the sidelines and watch you fail at putting up a tent, so get them involved and treat a lot of the busy work as if it was a game.
Giving kids jobs doesn’t just allow them to have fun, it’s also giving them a responsibility that many kids will appreciate, now that they feel like part of the team. You should also know what you don’t do when camping with kids.
24. Create Privacy By Using Windbreaks
If you’re camping at a public location or you just want some privacy, you should consider bringing windbreaks on your next camping trip. These create privacy by blocking you from the prying eyes of other people.
They have other practical uses too. As the name suggests, windbreaks are great for keeping the wind off of you and your campsite on days where it’s a nuisance. They can also be great for staying cool on sunny days when the sun is high, by sitting or lying in their shade.
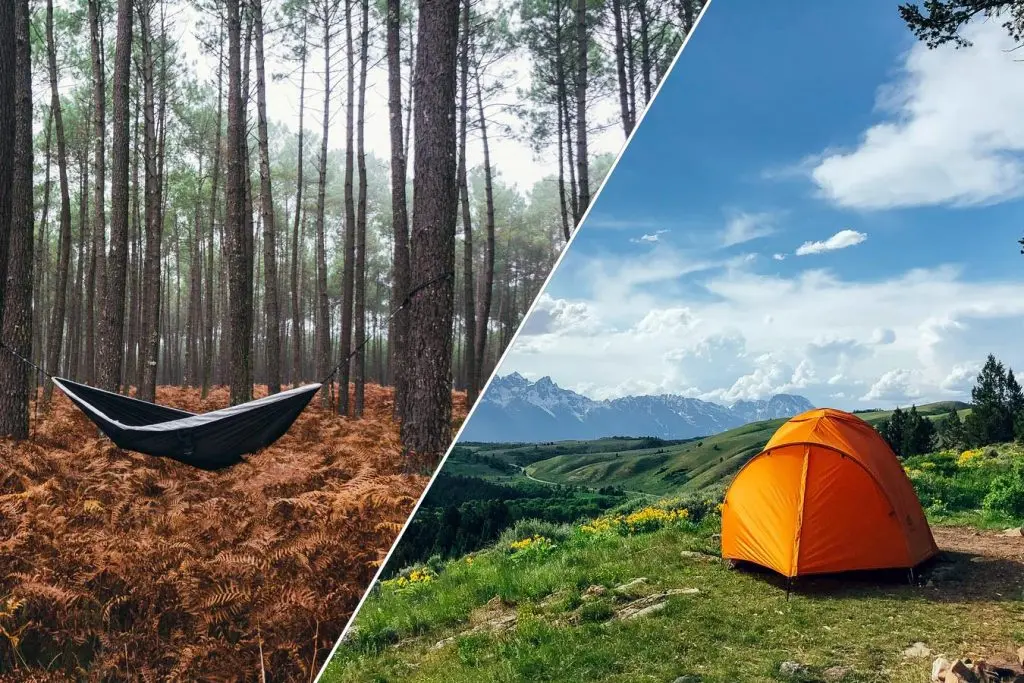
25. Think About Where The Tent Is Pitched
Now that we’re at the halfway point of our 50-tip guide, let’s get into specifics about your tent. First, you need to think about placement. If you’re at a public campsite where they have set areas to camp in, then you don’t need to worry about this.
If you’re in the wilderness, however, then you’ll need to figure it out for yourself. You should find areas that are as flat as possible but preferably close to areas of interest, like landmarks or populated places where you won’t get lost or you can get help if you need it.
26. Take ‘In-Tent’ Shoes With You
In wet, muddy weather, you’d do well to take some in-tent shoes with you. In-tent shoes are exactly what they sound like, comfortable and soft shoes that you keep in the tent to keep your feet warm. Ugg slippers or boots are great for this but should be kept away from the muddy outdoors.
27. Learn How To Put A Tent Up Before Leaving
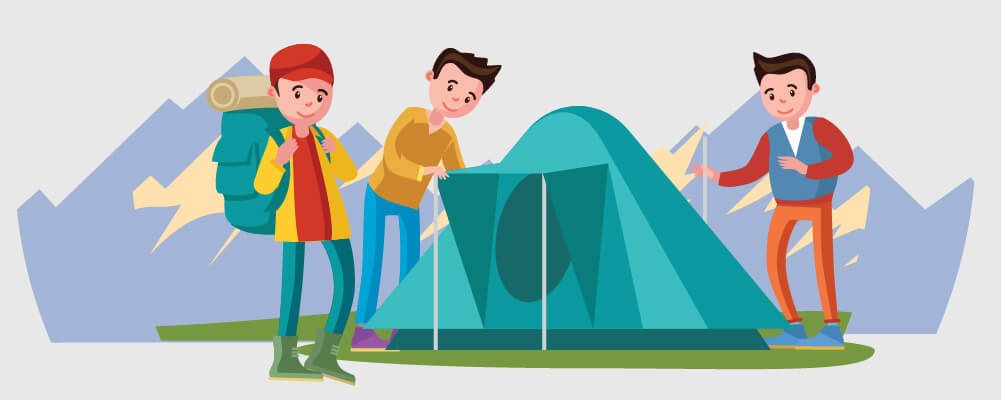
Don’t expect to put your tent up easily if you haven’t got prior experience. Practice putting the tent up before you leave, in your backyard or a local area where you have permission to pitch a tent. If you’re in a group or family, you can turn this into its own social occasion where you have fun while trying to figure it out.
There are generally nine steps to putting up a tent, though they may vary for your model:
- Identify a suitable location, as we said in tip #25.
- Lay down the tent footprint.
- Lay the flat tent on top of the footprint.
- Assemble the pole structure of the tent.
- Slot poles through the rings in the tent fabric and the footprint.
- Raise the tent fabric and secure it to the pole structure.
- Place the rain fly on the tent, if your tent has a rain fly.
- Use stakes and pegs to anchor the tent to the ground.
Tighten the rain fly over the tent, if you have one.
28. Clear The Ground & Lay Down The Footprint Before Pitching Your Tent
Before you even start, you should clear your chosen camping area. On the ground, there may be sticks, dried leaves, and other debris that may pose a threat to your tent. They may have excessive moisture that will get into the tent fabric or a rogue twig might just rip the fabric altogether. Keep your tent footprint intact by clearing the ground as much as you can first.
29. Zip Closed Doors Before You Pitch The Tent
Tents are much easier to pitch when their doors are zipped up because the tent is a consistent, symmetrical shape. This means it’s easier to control and anticipate where it’s going. If you don’t zip up the tent, it can be very confusing to find your bearings with the tent being spread out almost flat.
30. Do Not Use Regular Tent Pegs
Tents are much easier to pitch when their doors are zipped up because the tent is a consistent, symmetrical shape. This means it’s easier to control and anticipate where it’s going. If you don’t zip up the tent, it can be very confusing to find your bearings with the tent being spread out almost flat.
31. Don’t Leave Tent Pegs Sticking Out Too High
Your tent pegs should be sufficiently buried into the ground so that they aren’t poking out. If they are, you run the risk of having them dislodge during rough weather. You may also kick them, sending your tent tumbling down and creating a tripping hazard that could cause embarrassment or injury. Trust us, your idea of adventure isn’t being sat in the middle of nowhere, nursing a broken ankle.
32. Don’t Push In Tent Pegs Using Your Feet
Likewise, to tip #31, you also don’t want to push the pegs in too far, which is most often done by using your feet. This doesn’t just run the risk of over-burying the peg, the pegs also might bend from the pressure. Sometimes it’s reversible, other times it isn’t. If they bend, they become unusable. Mallets are more suitable for hammering in tent pegs while keeping them straight and narrow.
33. Consider The Comfort Inside Your Tent
You don’t need to settle for good enough when camping, so consider how comfortable the inside of your tent is. With those extra blankets we mentioned, you may also want to bring cushions and other comforting items that can turn any cold tent into a warm temporary home.
34. Unzip Windows & Doors To Put Away The Tent
Just like how zipping a tent in tip #29 helped to put it up, unzipping a tent also makes it easy to put down. By keeping the doors and any windows zipped up, you’ll inadvertently trap air under the tent fabric.
This cuts down on your storage space and, in its worst cases, can even damage the textiles used. If there is moisture/temperature on the tent, it may create an environment where bacteria and small critters will thrive.
35. Choose Your Campsite Carefully
Not all campgrounds are created equal, so you should shop around and find a campsite that has the perfect activities for you and your friend group. There’s no shortage of national parks and camping venues that come with so many natural and man-made stress relief around, so choose the one you like the most.
36. Keep The Essentials Always Packed
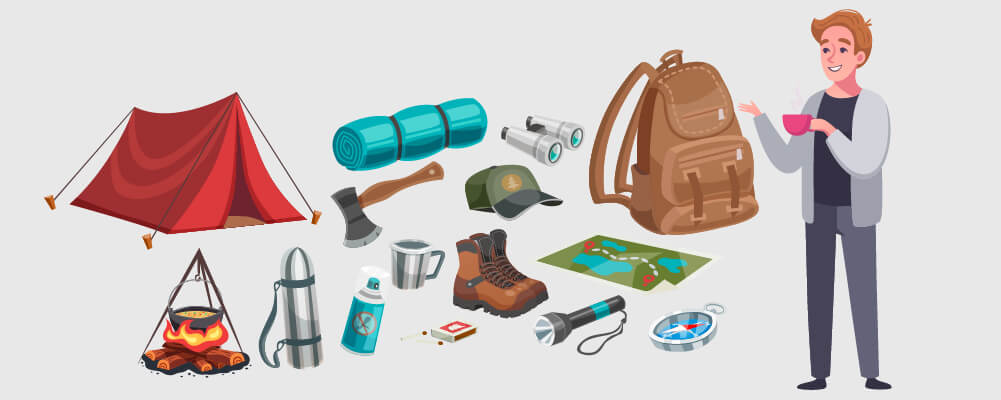
When you camp frequently, you should always be prepared. That’s why you should gather your camping essentials into a single box like we suggested you do with kitchen supplies at tip #12. The box should be full of things like:
- Duct Tape
- First Aid Kits
- Flashlight
- Matches
- Multi-Tool.
37. Create A Kid Boredom Box
You can always make a box full of entertainment for when your kids become bored and impatient. This should be full of board games, video games, books, arts & crafts that will keep the kids, and you, busy when needed. They are invaluable if you are braving a long, rainy day and need to make your own fun from your tents.
38. Use Plant Clips To Secure Fairy Lights/Bunting To Your Tent
If you are going with our fairy lights suggestion from #21, you’ll need some way to suspend them at your campsite. That’s where plant clips come in. These are light but reliable, having been made to support plants during their growth. You can use them to place the mini lights and other decorations so that they stay up for the entirety of your trip.
39. Use Recycled Storage Bags For Packing
If you need extra packing space, you can use old storage bags as an inexpensive way to haul more with you to the trail. These are made from recycled materials and come in very large sizes, bigger than backpacks sometimes. They’re sturdy and can support a lot of weight, so fill them to the brim with your camping gear.
40. Don’t Leave A Trace
This is a common sentiment in camping and hiking communities. When you go somewhere, whether it’s a campground venue or a random spot in the wilderness, you should always avoid leaving a trace.
Sometimes we make mistakes and forget things at a site, it happens, but making a conscious effort to sustain camping locations is important.
41. Take Floor Cushions
For maximum comfort, you should take floor cushions to lay down in your tent. If you’re combining floor cushions with a tent footprint, a self-inflated mattress, a sleeping bag, and some blankets, then you shouldn’t have to worry about getting cold in most environments.
42. Do Not Decide On A Small Tent
When choosing your tent, it’s best to have a slightly larger one instead of one that’s too small. Tents are often represented by how many people they can fit, which will be listed on their selling page.
Note that those are labels made up by the manufacturer, no authority group ranks tents based on how many people they can fit inside. This means they are often incorrect about how many people can fit into the tent.
The main problem is that they are estimates that only take our bodies into account, so the equipment isn’t factored in. If you are storing your personal effects in-tent, that can take up one person’s worth of space.
This means that one person in a three-person tent occupies two spaces. Two people in a four-person tent might be cramped with their gear, too.
43. Prepare For Bad Weather Just In Case
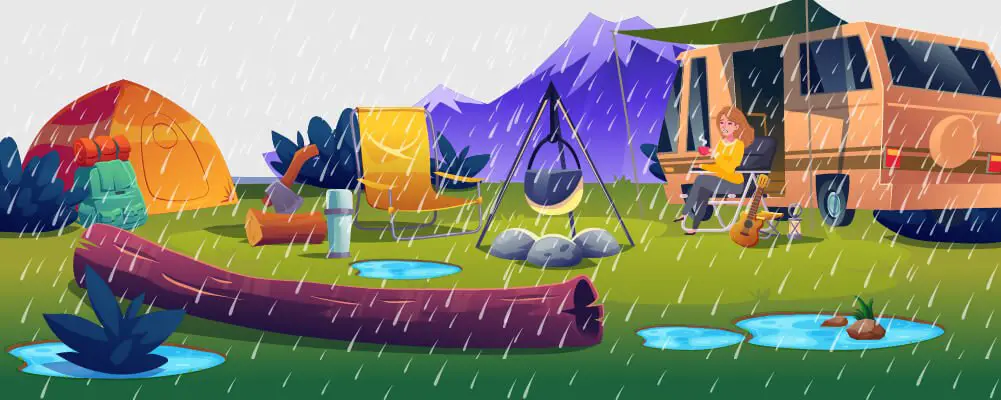
No matter what the weather reports say, you should always be ready for a bad turn. You’d be surprised just how fast the tides can turn, literally. The problem is even worse if you are camping in places that are prone to drastic weather changes.
Become familiar with hydrostatic head ratings and whether you believe them or not. Assuming a high-quality tent, the rating often dictates a tent’s ability to repel rain. It’s also used to rate the water-resistance of outdoor clothing. If you expect a lot of the sun, you’ll need to have sun hats, sunglasses, and sunscreens too.
44. Plan Ahead For Charging Essential Electronics
If you’re bringing phones, speakers, and other common electronic equipment, you should plan on charging them. Get power banks that can hold a lot of power, fill them up, and then store them somewhere dry for later use. Then, when electronics start to die, you’re not left in the dark.
45. Take Garbage Bags With You
Bring garbage bags with you so that you can clean your camping area at the end of your journey. These bags are large and easy to work with, you can just throw any paper plates or torn wrappers in without worrying about packing.
46. Pack Extra Layers Of Clothing
You will often get wet or otherwise dirty while camping. That’s why many savvy campers bring an extra layer of clothing, which they then use to change into as needed. You’ll need extra clothing for longer camping trips anyway, so packing a few more layers isn’t so bad.
47. Pack Everything In Boxes
Pack as much as you can into boxes, preferably ones that have handles and can be labeled so that everybody knows what’s inside. Naturally, this tip is for those who are driving to their campground in a vehicle, not hiking, and so they have the trunk space for boxes full of their gear.
48. Use A Footprint Groundsheet For Bad Weather
A footprint isn’t the only protection you can get for the bottom of your tent. You can also get a groundsheet, a waterproof material that is cut to the same size and slips under the footprint. This keeps the bottom of the tent dry in bad weather.
49. Burn Incense To Get Rid Of Bad Smells
Many interesting smells occur when you’re living in the wild, especially if you’re near other people. Fortunately, you can bring incense to help get rid of those smells. Incense is the best option because it’s easy to use, has a unique smell, and it’s much more natural than spraying the woods with deodorant spray.
50. Pack Walking/Wildlife Books & A Map Of The Area
Packing books is a great way to find entertainment when out on the trail. They keep well and don’t require a charger, so they’re perfectly suited for camp life. It’s even better if the books are about walking, hiking, camping, or wildlife in general, so you can learn on the fly.
You should also have a map of your local area so that you don’t get lost. Getting lost is a real danger when out in the wilderness, so make sure you bring one for your safety. With a map and the knowledge of how to read it, you’ll be able to find your way around.
Speaking of finding your way, you’ve found your way to the end of our tips!
Summary
You have just read our top 50 tips for having a safe and fun camping trip. As we said before, not all of them will apply to you, but most of them can apply to campers of all backgrounds.
Hopefully, we’ve given you some ideas for your next camping trip. Maybe you’re preparing for your first and didn’t know where to start. If that was the case, keep these tips around! You can use them as a checklist before you leave for the wild, so you’re fully prepared to have an adventure-packed experience.