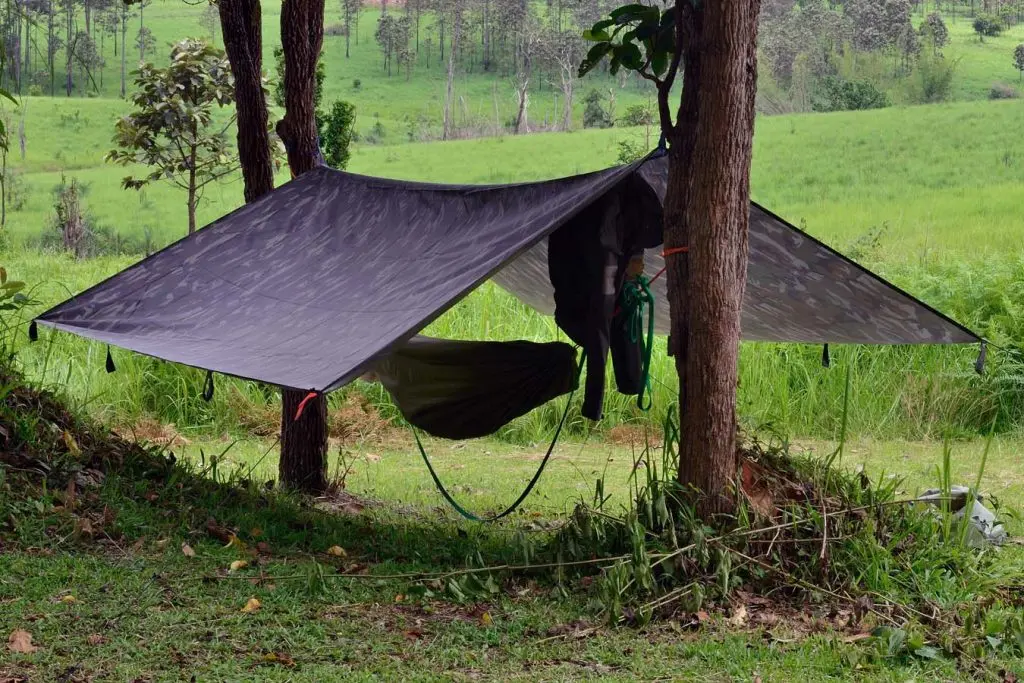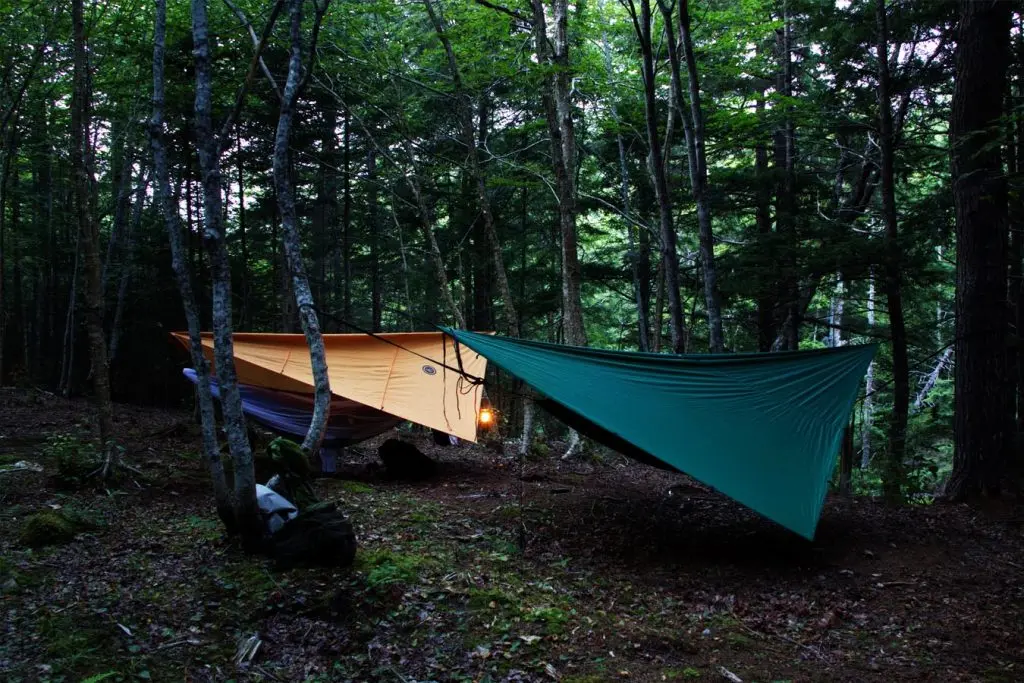
Knots are an essential part of any outdoor adventure. They come in especially handy when you need to hang your hammock for camping or relaxing. But do you know how to tie the different knots?
This article will explore some essential hammock knots you need to know. We will point out the important ones and tell you how to use them in a practical situation.
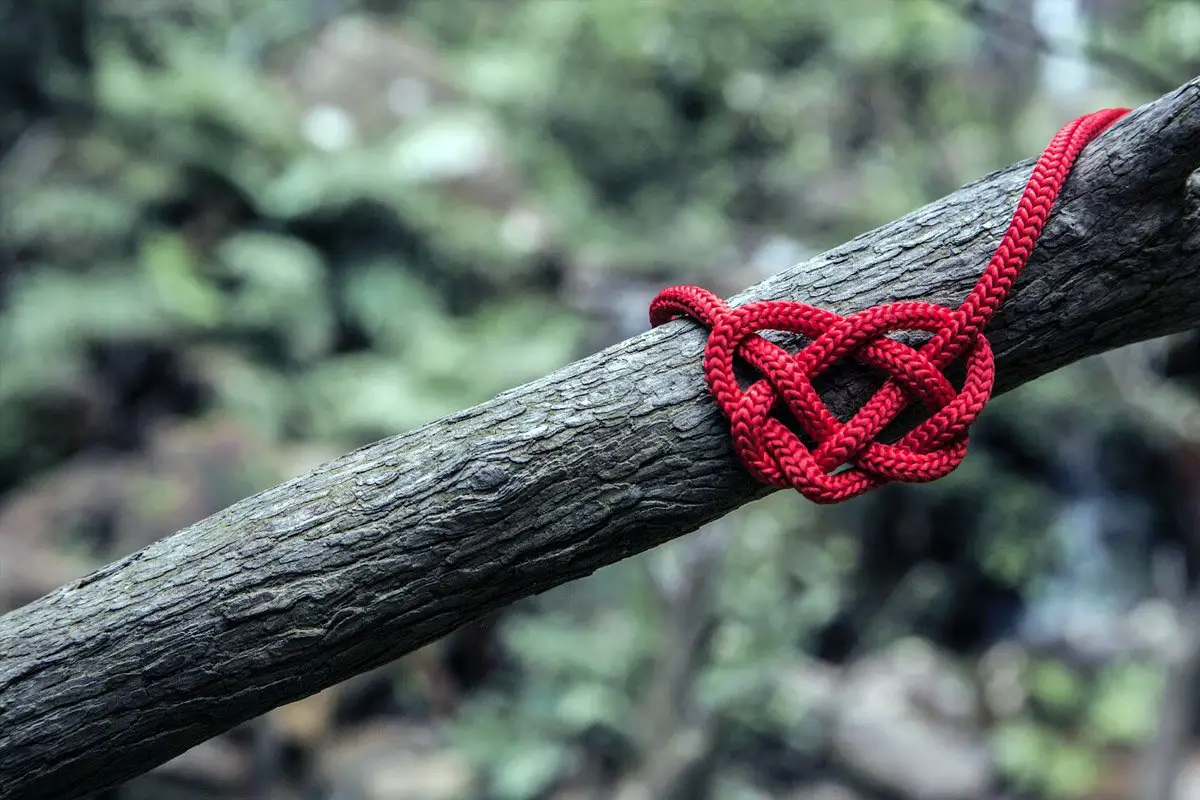
Knots – What are they?
There are all kinds of knots that you will encounter if you love the great outdoors. However, not everyone knows how to tie different types of knots, or even what they are, to begin with. But are knots really that complicated? We say, they are not.
If you are a climber or a sailor, you probably know a few crazy words in knot-tying that will confuse many rooks out there. But today we’ll focus on those looking to tie knots for their hammocks. Let us learn the basics of knot-tying for hammock camping.
There are 3 types that you need to acquaint yourself with;
- Basic knots: We would otherwise just call them knots. These include anything that can be tied in rope without the support of stakes, poles, or anything else. They include figure 8, Nail, Square, and the bowline. A basic knot stops a rope from slipping through a bolt eye (don’t worry we will learn what a bolt eye is shortly).
- Hitches: These are types of knots that can be tied around another object such as a tree, carabiner, another rope, or even stake. You need hitches when you want to strap down objects as you transport them or when you are holding them down or in place. Common types of hitches include the half hitch, barrel hitch, clove hitch, rolling hitch, round tie, and girth hitch.
- Bends: Bends happen when you tie two pieces of rope together. You can use bends to form a circle of rope or tie two different ropes together. Examples of bends include Beer bend, hunter’s bend, sheet bend, figure 8 bend, Slim Beauty bend, among others.
You may be asking yourself, do I need to know all these terms? I just need something to secure my hammock. Well, it’s not a big deal if you don’t know all these terms. People use different terms to refer to them.
But wouldn’t it be cool if you knew them? Especially when you are among people who are familiar with knots – you could look cool. Remember knots can be tied using ropes or nylon webbing.
Key Knot Terminology
Before we can tell you the essential hammock knots and how to tie them, we need to let you in on knot-tying lingo. We will use these terms when we describe how to tie different knots. So here they are;
Bight: When a section of a rope forms a U, we call it a bight.
Loop: A loop is a form of a bight that happens when two strands of rope cross at the bottom. That is two Us crossing at the bottom.
Working End: This is the part of the rope or webbing you are working with when tying a knot.
Standing End: This is the idle part of rope or webbing – the part you’re not actively using to tie the knot. It’s sometimes also called the lagging or free end.
Tail: This is the part of rope or webbing left after you finish tying a knot. You can also call it the excess rope or it could also be the standing end.
Turn: This is the part of the rope that is turned around an object such as a tree or pole.
Jamming: A jamming is a knot that is hard to untie.
Eye: This is the loop you create with a rope or knot.
Essential Knots to know
Now that we are familiar with knots and the language involved when using them, it’s time to learn the important ones for hammock tying. Here they are;
- Half Hitch
Many campers have probably used the half hitch to tie a knot even if they didn’t know about it. The half hitch is important to know since it forms the basis of many other knots and hitches. However, it’s probably not the best knot to use when you want to support heavy weight. For instance, a half hitch knot may not support your full body weight.
However, you can double it to improve its strength. It’s the knot used to tie a rainfly to a tree or a bug net.
Here’s how to tie a half hitch;
- Run a loop around a tree, a pole, another rope, or an object of your choice. The loop creates a circle around the object.
- Pass the tail end around your standing end and through the bottom of the loop
- Pull it tight.
- You have a half hitch. Remember you can repeat the steps to create a double half hitch for more strength.
- Girth Hitch
The girth hitch is also known as the strap hitch. It’s one of the most common knots used by hammockers. It also happens to be one of the easiest knots to tie. You can use this knot when you want to support your hammock on a tree using straps.
It’s also the ideal knot when you want to tie a mosquito net to a ridgeline. The strap knot is common because it’s also one of the easiest knots to untie even after subjecting it to a heavy load.
Here’s how to tie a girth or strap knot:
- Start by creating a loop between your rope or strap. Use the working end of your rope.
- With the loop in your right hand and the standing end in your left hand, pass the loop behind the tree or pole.
- Pass the standing end of your rope through the loop
- You have a strap hitch.
- Taught Line Hitch
If you like a movable or adjustable knot, the taut line hitch is for you. It’s also called the midshipman’s hitch or a tent hitch. It can be shifted up and down the length of a rope. It’s the knot used to anchor boats, hang a hammock with adjustable tension, tie a rainfly that you can easily adjust, and attach a guy line of a tent to pegs.
Here’s how to tie a Taut Line Hitch
- Loop a rope around a tree or pole and leave a slight slack.
- Run the tail around the standing end twice
- Continue for a third pass and run the tail between itself and the standing end.
- Pull to tighten
- Check if the knot can move up and down easily.
- Overhand on a Bight
Also known as the overhand loop, this is one of the essential hammock knots. It’s great when you are using carabiners and J-hooks. Even when you subject it to a heavy load, the overhand on a bight loop is easy to untie.
Here’s how to tie it
- Using a 12-14 inch rope create a bight from the standing end.
- Hold the bight in one hand and wrap it around the standing end of your rope to create a loop.
- Pass the bight through the loop you just created
- Pull it tight by holding the bight and pulling each strand.
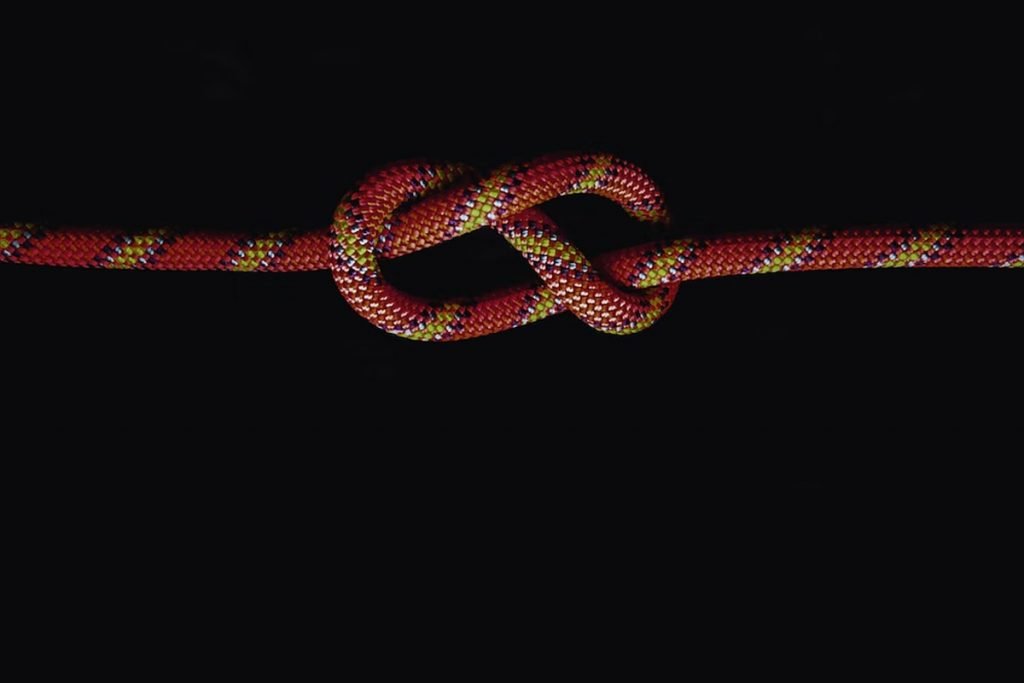
- Figure 8 on a Loop
If you want an even fancier overhand loop, then this is perfect for you. It’s the same knot as the overhand on a bight with a slight twist. The overhand on a bight and figure 8 knots serve the same purpose.
However, if you want to save time, we suggest using figure 8 – it’s easier to untie even after being loaded. The figure 8 on a bight knot is essential when you need to create attachment points for hanging your hammock.
Here’s how to tie it
- Create a loop (bight) from a 16-20 inch rope using the standing end.
- Hold the bight in one hand and wrap it twice around the standing end of your rope to create a loop with two twists.
- Pass the bight end through the loop
- Pull tight the knot as you hold the bight and pull the individual strands.
- You have a figure 8 on a bight knot
- The Bowline Knot
The bowline knot is an easy knot to tie but crucial for you to know if you hope to have a successful hammock camping. It’s also the most common knot used by sailors and climbers. You can use it to anchor a rope to a tree or use a loop to attach a carabiner.
Here’s how to tie a Bowline knot
- With the working end of the rope, create a loop and leave 10 to 12 inches of the tail end.
- Thread the tail through the loop creating a second (smaller) loop.
- Pass the tail through the second loop
- Pull the individual strands to tighten the knot
- You have a bowline knot
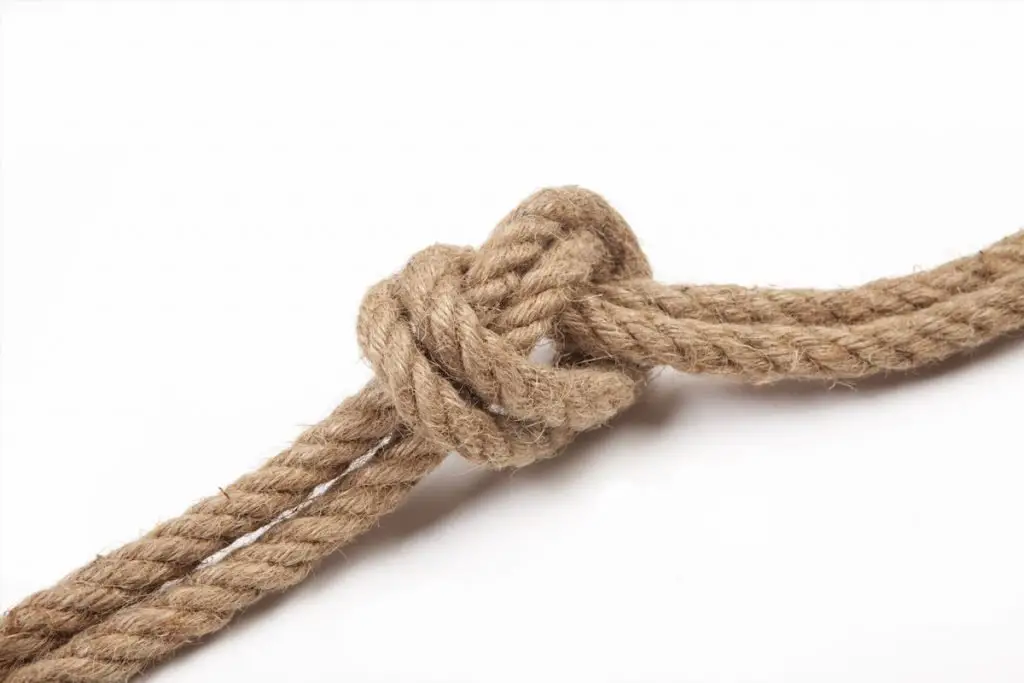
- Double Fisherman’s Knot
The double fisherman’s knot is essential when you need to tie 2 ropes together. This one is a bend that tends to be strong if you plan to put a heavy load on it. However, it can be tricky to untie it. It’s often used to secure objects at end of a rope (a fishing hook, for example).
Here’s how to tie this knot;
- With the two ropes in hand, hold their tails so that the ends overlap by some length.
- Use the tail of the rope on your right hand to wrap it twice around the standing end of the other rope and create a double overhand stopper knot.
- Repeat the process using the other rope
- Pull the ends of both ropes individually to tighten the knots
- You have a Double Fisherman’s knot
- Water Knot
The water knot is also a bend just like the Fisherman’s knot we just discussed. However, this one is easier to untie even after subjecting it to a heavy load. It’s a great knot if you want to hang your hammock. However, instead of a rope, you’ll need nylon webbing.
Here’s how to tie it;
- With your webbing, create an overhand knot (use one piece of webbing). Leave a few inches of tail.
- Follow the path of the overhand using a different piece of webbing. Don’t twist the webbing as you tie. Make the webbing strands parallel to each other.
- Pull the webbing strands tight.
- You have a water knot
- The Square Knot
The Square knot is also a bend and a must-know if you hope to enjoy the outdoors. It’s also known as the Reef Knot. You can use it to attach two pieces of rope for other purposes besides load-bearing. For instance, you could use it to bind your sleeping pad to your backpack. However, it’s not the best knot for carrying heavy loads – it tends to easily untie.
Here’s how to tie it;
- Use one tail of a rope and cross it over the other
- Cross the second tail and pass it over the first one
- Pull the ends to tighten the bend. That is it!
Best Knots for Hammocks
All the knots we just listed are perfect for a hammocking adventure. However, not all are applicable in all situations. When looking for a knot to use for hammocking, you need to consider a few things.
For starters, think about whether you need a ridgeline, a bug net, and also where you need to hang your hammock. Also, if you have straps to use, some knots are better than others. Lastly, you want to ensure you pick a knot you can easily tie and untie. Here are some quick favorite knots for hammocking;
- The Girth/Strap Hitch
Most hammock campers use straps to tie their hammocks. This is because they have multiple uses when you are hammock camping. It’s important that you pick the girth hitch as your number one knot. The strap hitch can be easily adjusted. Even though the knot can sometimes untie, with straps, this won’t happen as often.
- The Bowline Knot
The Bowline knot doesn’t come second because it’s weak. It’s actually one of the strongest knots you can use to tie your hammock. It’s one of the best knots to use if you are worried about the safety of your hammock or if you are hanging a bit far off the ground. Once it’s secured, the bowline knot won’t budge. You can easily untie it after.
- Figure 8 Knot
The figure 8 knot is essential as an attachment point for hammocks. It is easy to tie and won’t budge under weight. You can also use it to attach a carabiner or other hardware to the rope. It’s easy to untie and will save you time.
How to tie a Hammock Knot
We have seen how to tie different knots and even pointed out the best knots to use on your hammock. However, different situations will call for different methods. In this step-by-step guide, we will tell you how to tie a bowline knot if you are using trees to support your hammock. We will also explain what you can do if you have a carabiner.
Securing your hammock using a bowline knot
- Follow the steps for tying a bowline knot described above. Leave some rope at the tail end that you will use to wrap around your hammock a few times. Your hammock should have a loop on its end to connect to a carabiner or rope. If it doesn’t, you will need to purchase a paracord or something similar.
- Use the end of the rope to wrap it around the tree or hammock’s anchor a few times. Maintain the loop in your dominant hand and pass the rope around the tree and pull it tight. The bark of the tree should help keep the rope in place.
- Ensure you have enough rope left at the tail end. If not, you can start over. Have at least 2 feet of rope to work with.
- Repeat step 4 for extra security.
- Give your rope a firm tug to keep it in place. For the other tree, you can use the same bowline knot or use a taut line hitch to make an adjustable knot. An adjustable knot gives you a few options when you are unsure about the sag you want. With the taut line hitch, you can tighten or loosen the sag easily.
- If you have a carabiner, thread it through the bowline knot and attach it to your hammock. Squeeze the carabiner’s hinge and loop it through your hammock. Release the hinge and secure the carabiner.
FAQs about hammock knots
What is the best knot for a hammock?
There are several knots used by hammockers. However, the best one will depend on your specific needs and preferences. The best and most common knots include the bowline, which is strong and secure. It’s easy to tie and untie. Above all, the bowline knot can hold a significant amount of weight without budging.
Another important knot you can use to secure your hammock is the figure 8, which is just as strong and easy to tie and untie as the bowline knot. You can use it as an attachment point for your hammock.
How do you tie a hammock carabiner knot?
You can use a knot to attach a carabiner to your hammock. Depending on what you want, you can pick any knot you are comfortable with to attach a carabiner to a hammock. You can pick either the bowline knot or the figure 8 since they are the strongest and are easy to tie and untie.
Once you have decided on a knot, you can attach your carabiner by clipping it to the loop to secure it in place. Ensure the knot is secure before attaching your carabiner.
How do you loosen a hammock knot?
You can loosen a hammock knot by untying it and then adjusting the tension on the strap or rope you are using to secure the hammock. Some knots are easy to loosen than others. For instance, if you are using a strap hitch, you can pull the end of the rope or strap that is passing through the loop. If you chose a bowline or figure 8 knot (which are slightly more complicated) you will need to untie the entire knot. Follow the steps in reverse to untie them.
What do you use to tie a hammock?
The materials you use to tie a hammock will be dictated by the type of hammock and the environment. However, you need to pick high-quality and durable materials. Also, ensure you use the materials as intended to keep the hammock safe and secure.
To tie a hammock, you will need nylon webbing or a rope, or other strong and flexible material. You can also use straps that are used to evenly distribute the hammock’s weight to prevent damage to the tree.
Apart from straps, you will need something to secure them to the hammock. You can use carabiners or other materials to secure your straps to the hammock. You can use different knots to attach the carabiners to your straps.
What is the best knot that won’t come undone?
If you are thinking of a knot that will stay secure as you lie on your hammock, then think no further than the bowline or the figure 8 knots. These two will stay in place even with a heavy load lying on the hammock. However, there are other knots that will be just as secure depending on what you need them for. Some of these include the Double Fisherman’s knot, which is commonly used by climbers. You can also use the water knot which is often safe and secure.
Do I need carabiners for a hammock?
Carabiners are great when you need to secure support. They have a spring-loaded gate that you can open and close to attach or detach from rope or webbing. For Hammocks, carabiners aren’t a must-have. This is because you can use knots and other methods of support. However, if you need convenience you can use them with your hammock.
Should your feet or head be higher in a hammock?
There are a few factors that can affect the position of your feet or your head in a hammock. However, it all depends on what you prefer. Here are some things to keep in mind before you decide;
- How much comfort do you need: The position of your head and feet can affect the comfort in your hammock. You can keep your feet elevated to ease the pressure on your back or keep your head elevated to ease pressure on your neck and shoulders. Work with different positions to find out what works for you.
- The hammock design: The hammock design can affect the positioning of your head and feet. Some hammocks have a slight curve that helps to evenly distribute your weight and ease pressure points. With such hammocks, you don’t need to adjust your feet and head.
- The type of support: If you are using a tree or pole to support your hammock, your feet will naturally be higher than your head due to the hammock’s slope. In such cases, it’s recommended to slightly elevate your head to ease the pressure on your neck and shoulders.